Information
3 ways to view your shared folders in Windows (all versions)
Are you looking for
a solution to the question: “Where can I see all the shared folders on my
Windows computer or device?”
We have three
different alternatives solutions for this query: one using File or Windows
Explorer, one using Computer Management, and one using Command
Prompt or PowerShell.
All these methods work
in all modern versions of Windows. So, if you want to learn how to find the
shared folders on your Windows computer or how to find the path of a shared
folder, read on:
1. View your shared folders using File Explorer or Windows Explorer
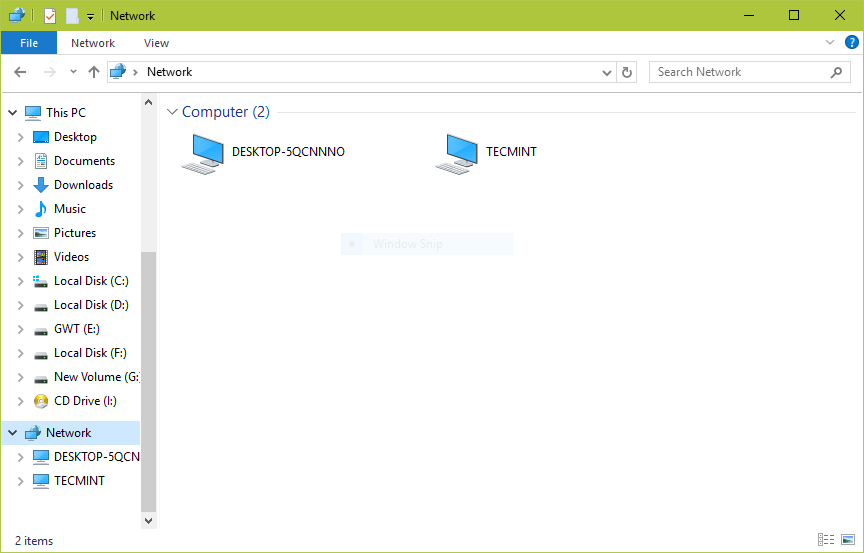
The simplest method for viewing the folders that you have shared in Windows is from File Explorer if you’re using Windows 10 or 8.1, or Windows Explorer if you’re using Windows 7. Open it, and then expand the Network section from the left side of the window and click or tap on the name of your Windows PC. This shows you the list of folders shared by your computer or device with the network.
The list of folders
shared with the network
The problem with this view is that it does not show hidden shares and doesn’t give too much information about how each folder is shared. However, you can right-click or press and hold on each folder and then press Properties or hit ALT + Enter on your keyboard.
The Properties
option from the contextual menu of a shared folder
This opens
the Properties window of the selected shared folder. The
security settings it has and so on.
Sharing settings
and permissions for a folder
Even though this method works, it is not an elegant way to see your shared folders or to manage them. There are better alternatives.
2. View your shared folders using Computer Management
The best tool for getting the full list of folders that you’re sharing on your PC is Computer Management. Open Computer Management and, on the left side of the window, browse “System Tools -> Shared Folders -> Shares.”
The shared folders
can be seen in the Shares section from the Computer Management
The central panel from Computer Management loads the complete list of all the folders and partitions that are shared by your Windows computer or device. You see both the folders you shared and the default shares of Windows, such as C$ and D$ (which are the partitions on your PC), as well as the default remote administration shares created by Windows, like ADMIN$.
The shared folders
list includes default Windows shares
For each shared folder or partition, you see the official share name (as it is viewed by others on the network, if not hidden), the exact folder path, the type of share, the number of connections made from the network to that folder and a short description (if available).
For each of the
shared folders, you can see the share name, folder path, type, etc.
If you double-click or double- tap on a shared folder, its Properties window opens. There you can manage the different sharing parameters such as the share name, description, and the maximum number of users that are allowed to connect to the shared folder simultaneously.
The Properties of a
shared folder
If you go to the Share Permissions tab from the Properties window, you can view and set which users and user groups have access to the shared folder and the type of access that each of them has.
The Share
Permissions of a folder
Going back to the Computer Management window, if you click or tap the Sessions link from the left side column, you can see the list of users who are currently connected to your network shares. For each user, you can see the device from where the connection is made, how many files he or she has opened, the time since the connection was initiated, and so on.
Sessions shows the
list of users currently connected to your shared folders
In the same column, the Open Files link shows all the files and folders that are accessed by the users who are connected to your network shares.
Open Files shows
the list of files currently opened by users from the network
All this is really
useful information, isn’t it?
3. View your shared folders using Command Prompt or PowerShell (in all
Windows versions)
You can also get the complete list of the folders that you’re sharing with the network, from the Command Prompt or PowerShell. Open the tool you prefer and type net share. Then press Enter on your keyboard, and the list with shared folders is instantly generated.
The net share
command displays the list of shared folders
Furthermore, if you want to find the path of a shared folder, it’s easy because the net share command also outputs this information in the Resource column.
The net share
command tells you the path of each shared folder
Neat, right? Obviously, the same command can be run in PowerShell too.
MOST VIEWED ARTICLES
LATEST ARTICLES
13 Feb, 2021
13 Feb, 2021